
It’s been a while since my last post, and I have several updates to tell about. In this post, I begin with a most exciting tale about a locally made telescope. With more to follow about other activities over the course of the next few weeks.
“Whatever you are doing, work at it with enthusiasm, as to the Lord and not for people,”
Colossians 3:23
Here in Kenya, it is unfortunately not very convenient or affordable to buy any telescope, because there are very few exemplars available locally, sporadically. And so in almost every case, one has to order internationally, with the accompanying shipment, import duties and tax costs1.
I was thus truly delighted when, almost 2 years ago, I met one Francis2 from Lodwar, Turkana, with one of his self-made Dobsonian telescopes at a local event, Space For Culture II: Under the Penumbral Lunar Eclipse. He even grinds his own mirrors.
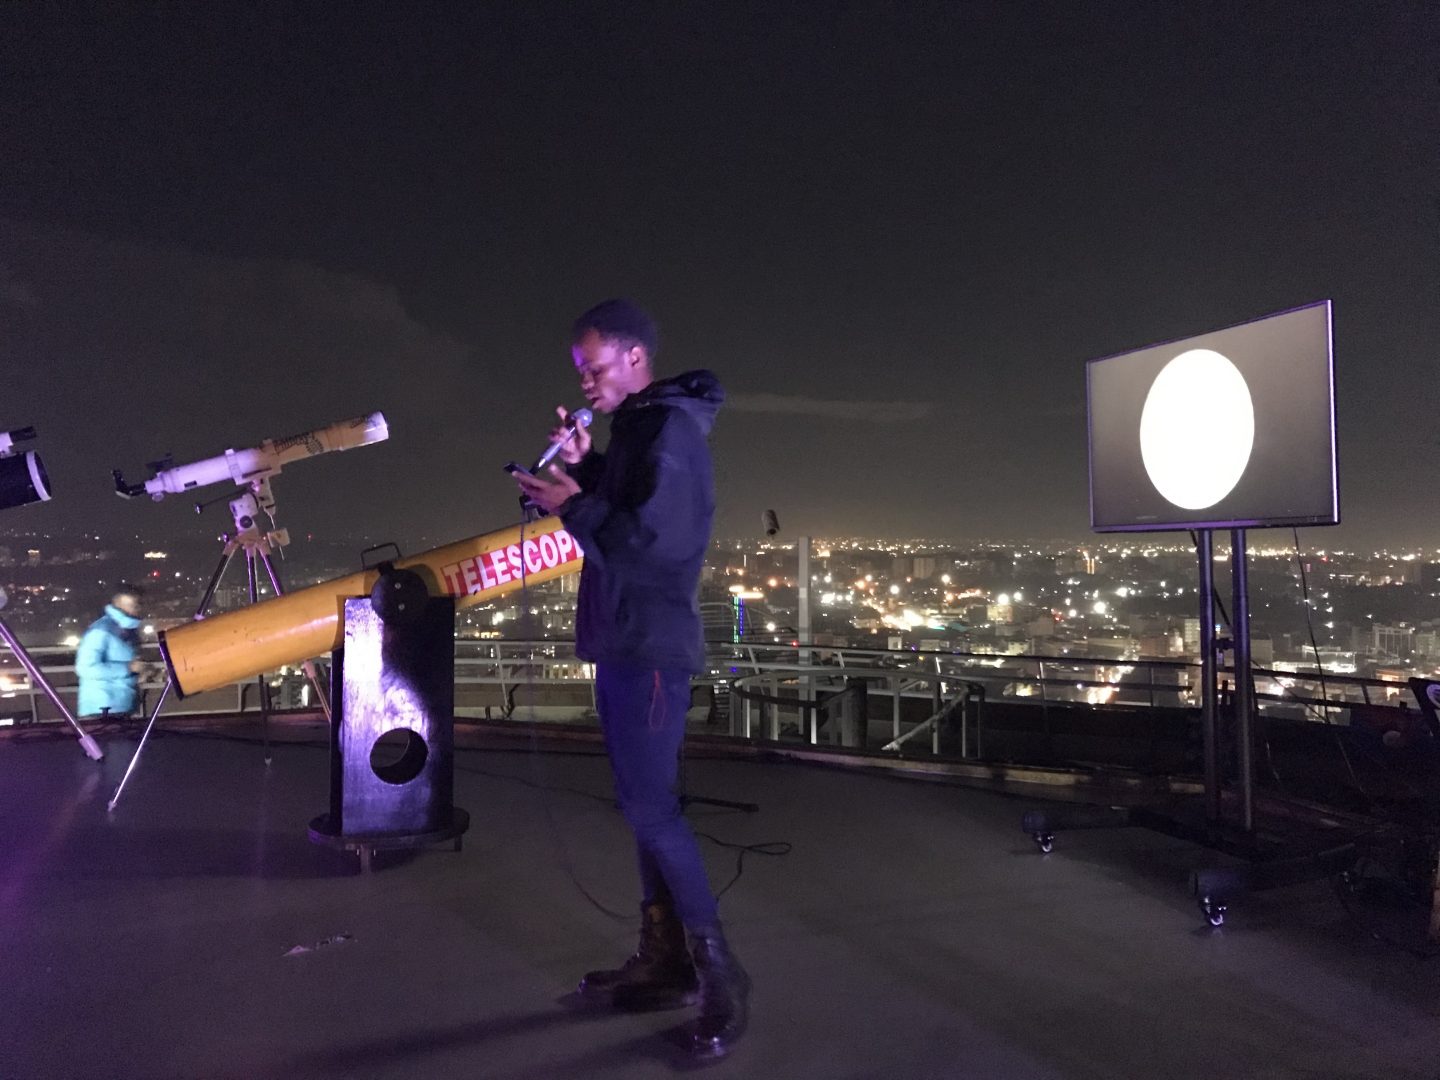
One of the artists at Space For Culture II in front of Francis’ self-made telescope (yellow).
The scope was showing nice views of the Moon, and I told Francis that I’d be interested in trying out one of his scopes one day. We stayed connected, and one fine day last November, he did send me a recently-made one for testing.
So this is what I did over the course of the last few weeks (or months), with the help of a book, Star Testing Astronomical Telescopes by Harold Richard Suiter.
We’ll get to the results soon enough, but first, let me appreciate Francis for his agreement to publish them here, even as they show some challenges. He is indeed very dedicated to honestly learn of any issues in order to improve the design, rather than ignoring or glossing over them. This demonstrates a true work of love, just as the above-quoted Bible verse suggests we should do.
The remainder of this post is quite long, and I’m therefore dividing it into a few sections.
First Impressions
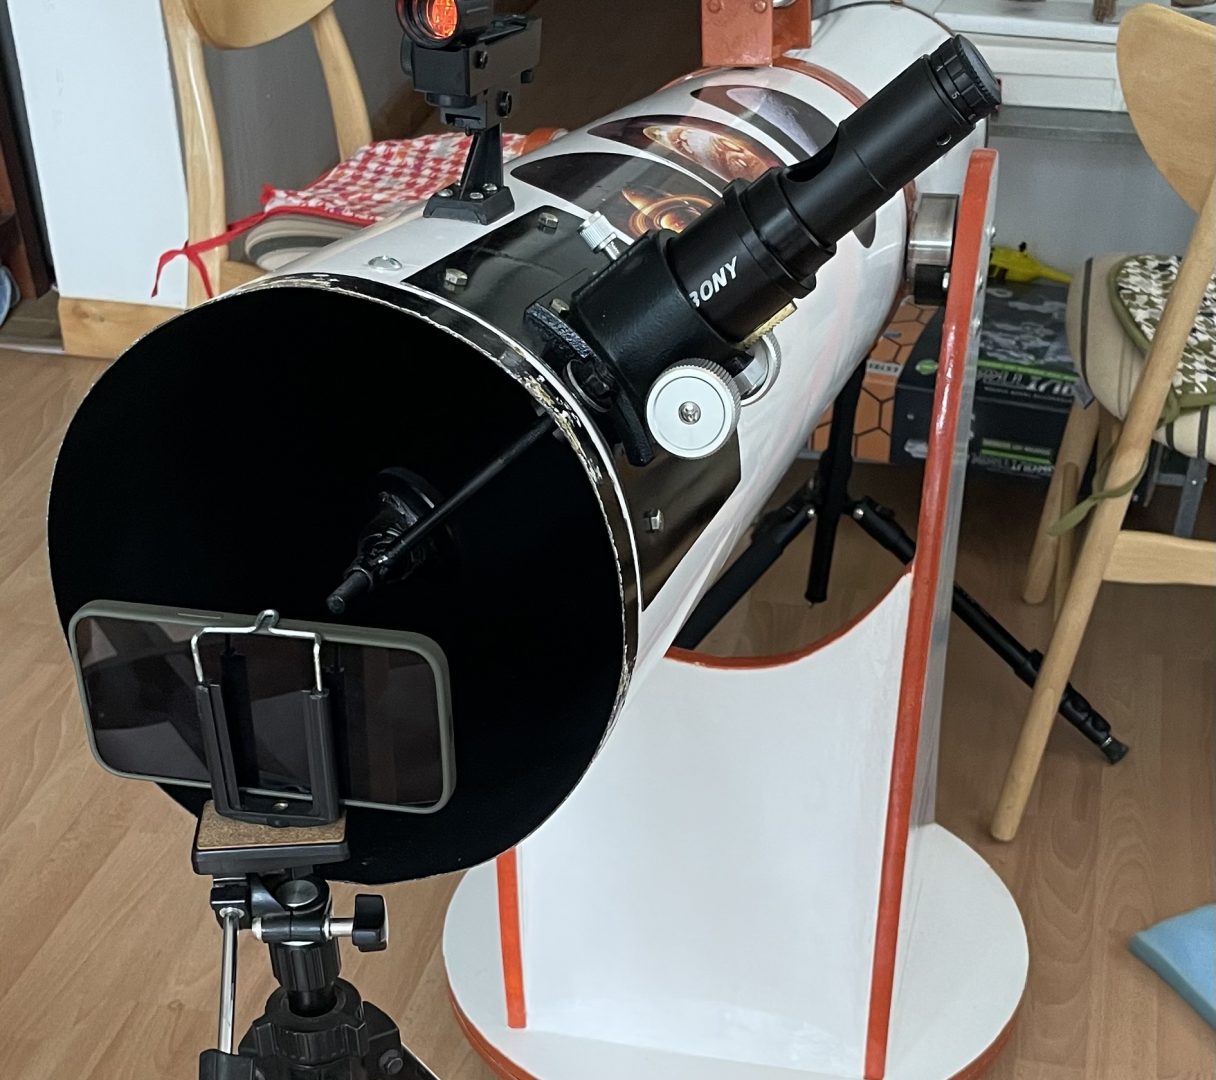
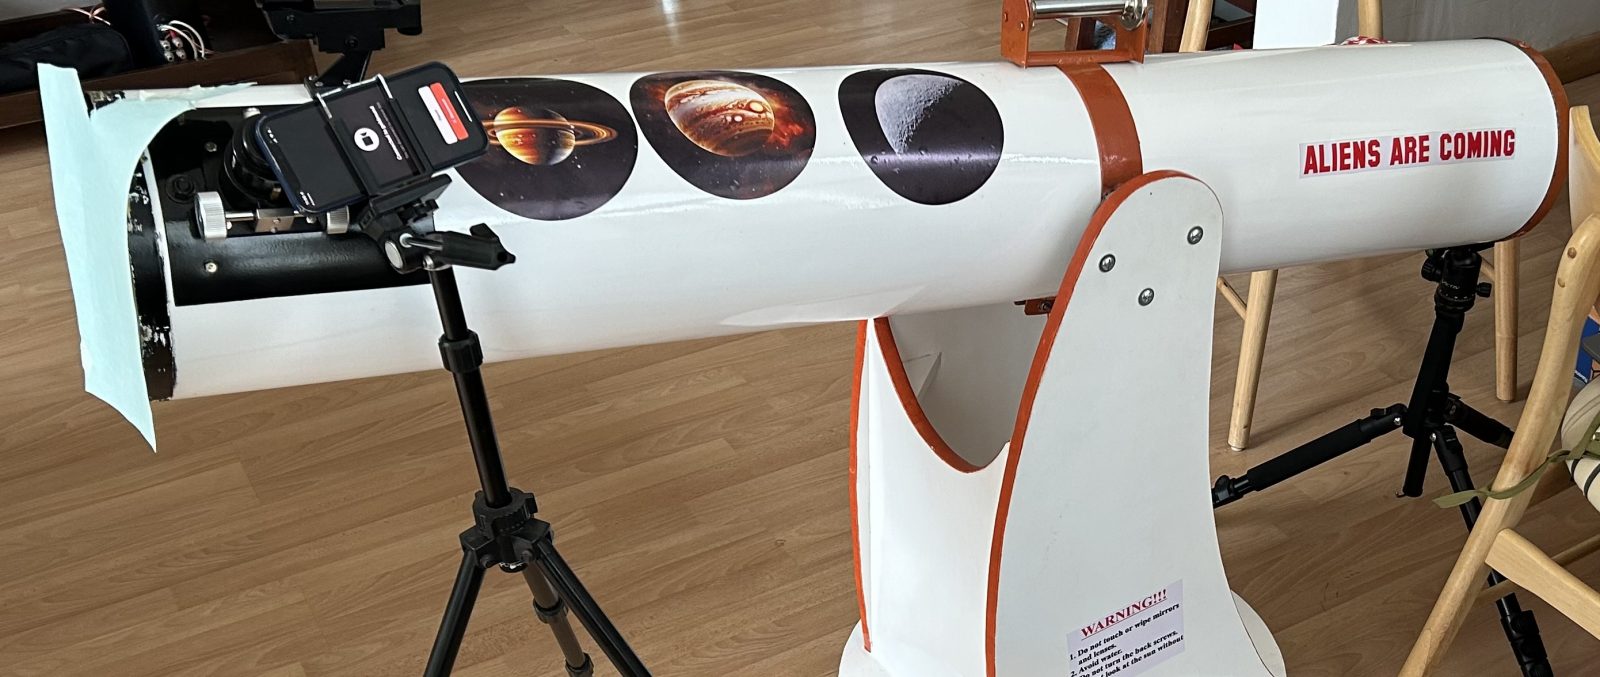
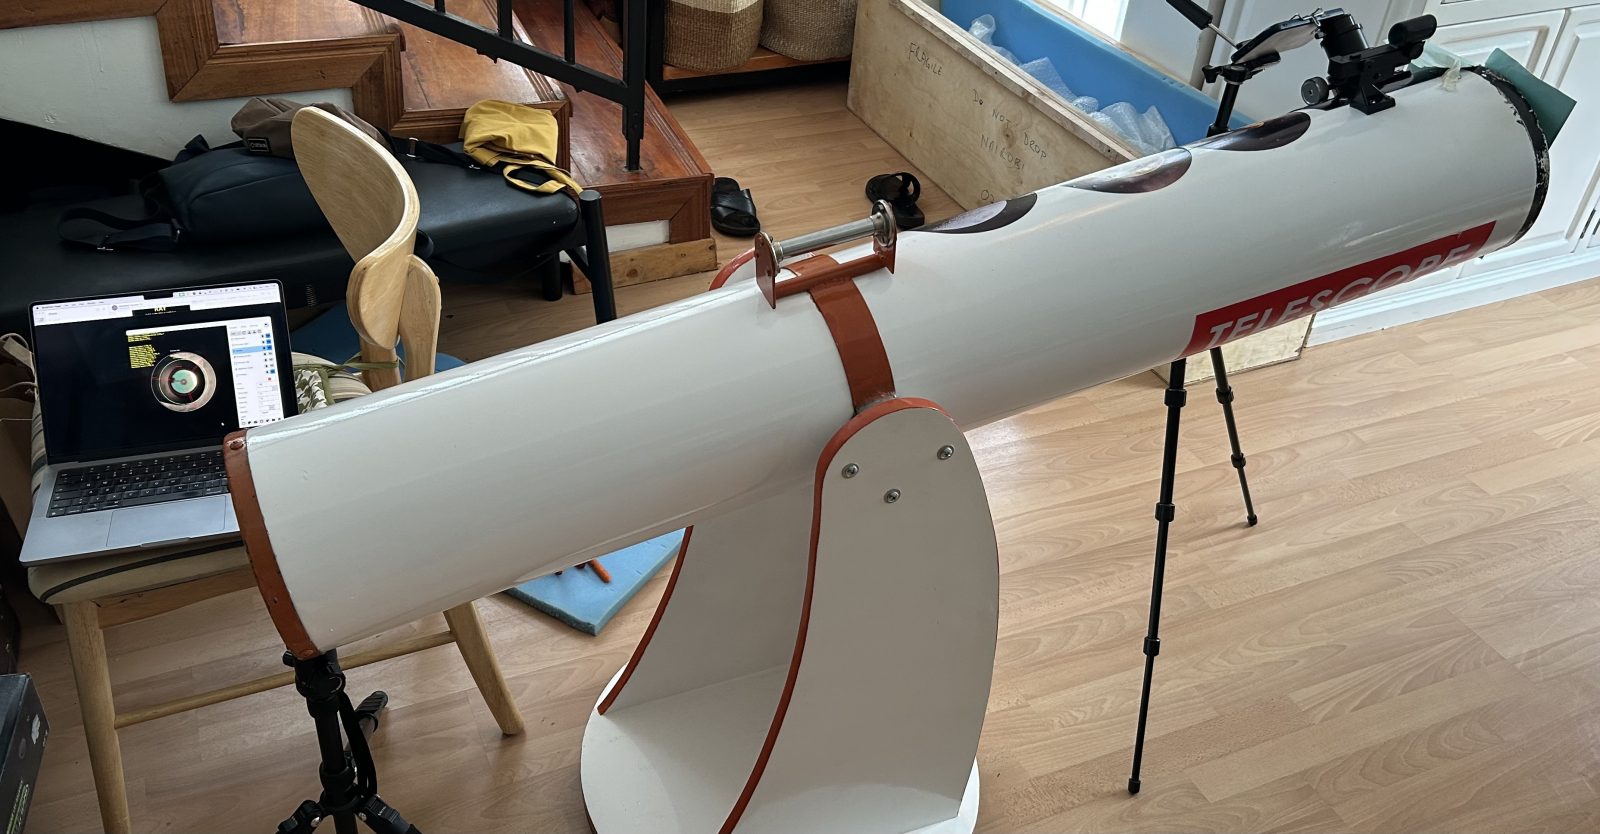
As the first thing, I’ll note that the scope, which I’ve come to call the “Turkanascope”, is absolutely beautiful and very solidly built:
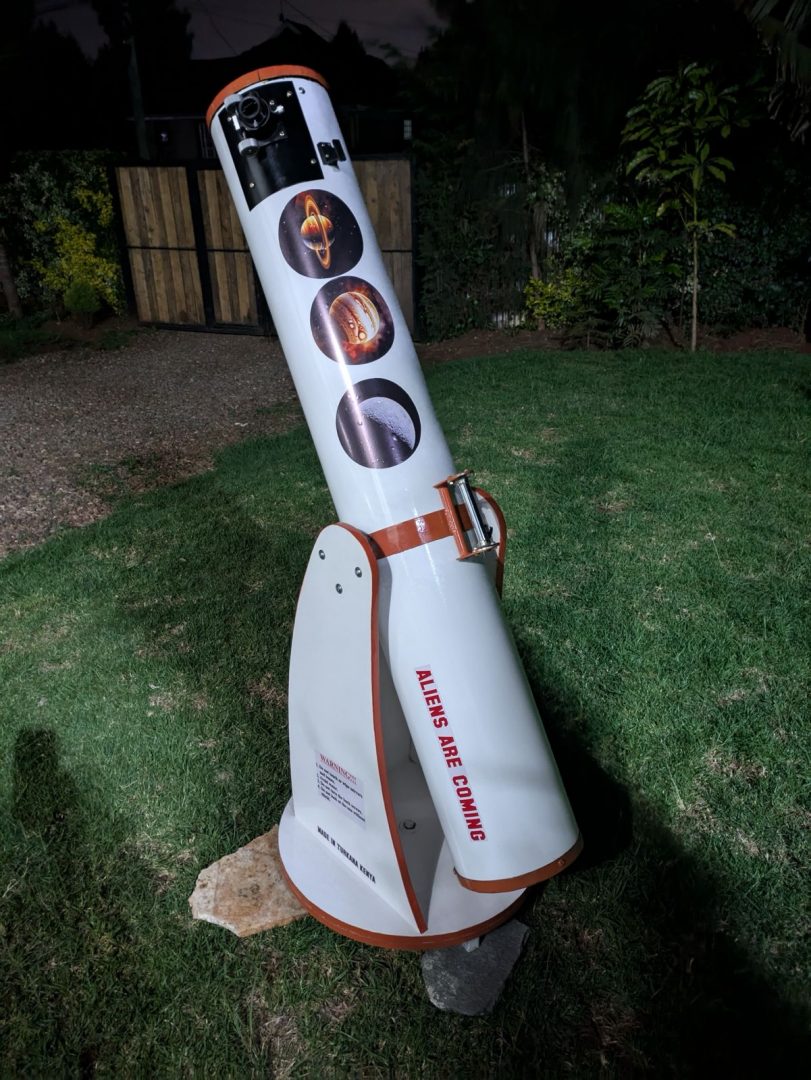
I also love the details such as these stickers:
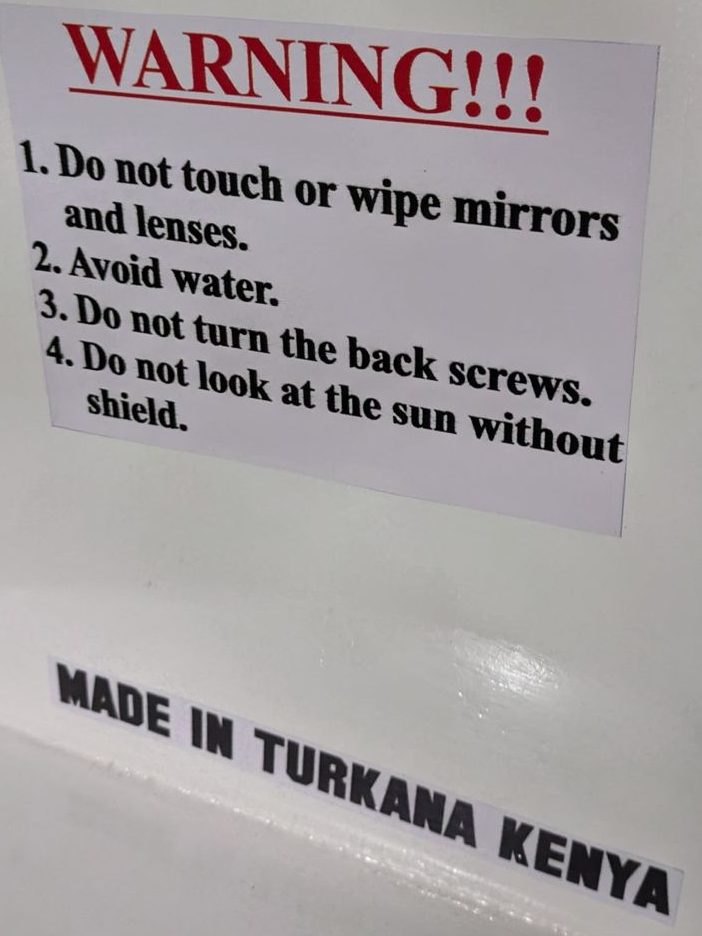
The scope has an 8″ (20cm) primary mirror and, at focal ratio f/6, 120cm focal length, which also determines the length of the tube. When I first tried it, I had some challenges focusing. I could see cloud bands on Jupiter, but the overall appearance was quite blurry. I’ve shot this video of it:
Some of the blurriness comes from quite bad seeing — it was shortly after sunset, during which time the air cools down rapidly and is thus prone to create turbulence — and the scope itself was probably also in the process of cooling down, creating tube currents, and thus yet more air turbulences to look through and further blurring the image. But usually, there should be brief moments of better clarity, which the human eye is adept at picking up and giving an overall sharper impression over time.
Collimation
One aspect of Newtonian telescopes, like the Turkanascope, is that they need to be collimated. I.e. their mirrors need to be aligned so that the main mirror reflects everything centered onto the secondary, and from there centered into the focuser and onto the eye piece. So whenever things don’t quite look right, this is among the first thing to check.
Firstly, we need to ensure that the secondary points straight at the primary. This is best done with a laser, a device which fits into the focuser and projects a low-powered laser beam straight out front. It could be quickly seen that the secondary was quite a bit off — the bright red dot in the lower left corner of the primary (big) mirror should be in its centre instead:
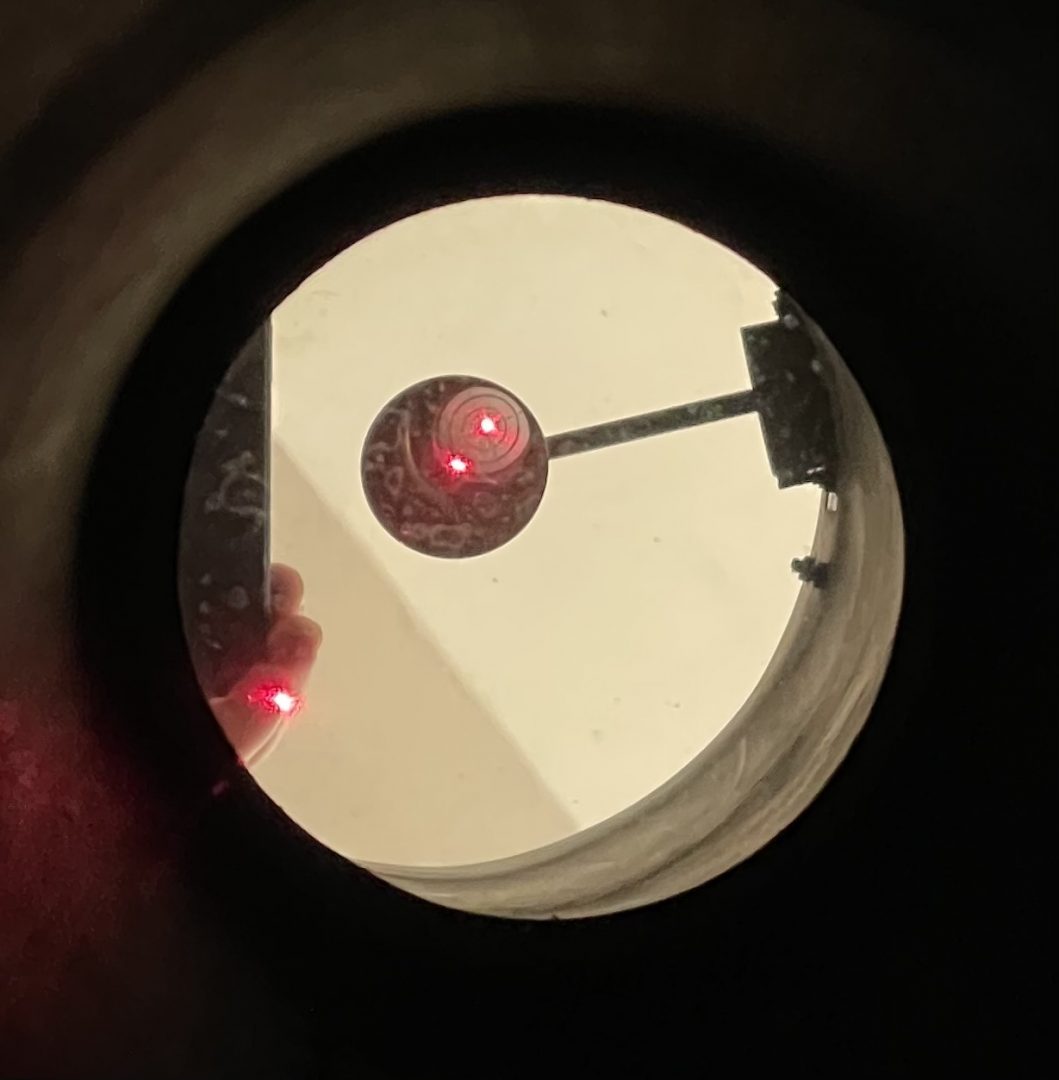
This was probably due to the transport, as the scope’s secondary’s mount lets it get tilted out of position quite easily. Commercial Newtonians often have a centre bolt plus 3 little screws around it that can be used to adjust the secondary’s position quite precisely. Here, I just repositioned it by hand as best as I could.
However, there’s another challenge: to see whether we’re pointing in the very middle of the primary, one normally uses a ring- or triangular-shaped marking on the primary which commercial Newtonians usually have.
So, technology to the rescue! Using my phone’s camera, I streamed a live image of the primary to my computer, on which I used a neat little free app called Collimation Circles to overlay circles and crosshairs, so that I could see where the middle of the mirror exactly is (or almost, the phone was filming from a slight angle to evade the secondary):
After the secondary was aligned, I proceeded with the primary. For this purpose, one usually also uses the centre mark, in conjunction with a collimation cap. This is a replacement for the eye piece without any lenses and just a small hole in the middle, so one can look exactly centered through the scope’s light path in reverse. One then centres the dark reflection of one’s own eye in the middle of the cap in the mirror’s centre mark.
But without the mark, I again used the camera with the Collimation Circles app, this time having the camera looking through the collimation cap:
Star Testing
Having collimated the scope, it was time to go back out for some more tests. Jupiter now looked somewhat better! But I could also tell that it’s not quite there yet. Following the “Star Testing” book, I tried to gauge star images at focus, as well as slightly inside and outside of focus. One thing that was apparent was that most light seemed to be concentrated in a big outer ring in the defocused image:
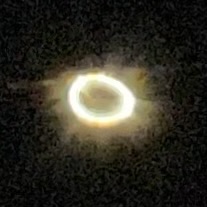
According to the book, this could be caused by spherical aberration. At the slightly “fast” focal ratio of f/6, one would need a parabolic mirror instead of a spherical one to avoid this (slower focal ratio of f/8 or more are more forgiving, but also make the tube of a Newtonian very long and magnifications quite high for a manually tracked scope for commonly used eye pieces). But parabolic mirrors are harder to grind correctly. An alternative would be to buy a ready-made mirror, which Francis is considering.
The ring also seems to be very deformed from a circle shape. But this could again be caused by less than optimal seeing. Another issue with star testing this way was that, given that one needs to do the test at high magnification, the star moves really quickly through the field of view. So one has little time after a readjustment to carefully observe and try to gauge what one is seeing. One idea to overcome this was to take a video of it. But since one needs to quickly move the star from outside focus, through focus, to inside focus, and the camera shakes with each adjustment, this proved to be quite difficult as well.
To overcome the seeing and the time pressure due to the non-tracked star image, I decided to follow the instructions in the “Star Testing” book to create an “artificial star” instead. The idea is to reflect a not-too-big but bright light source from a small reflective ball. For the size of this scope and following the formulas in the book, I determined that a ca. 2cm LED lamp, a ca. 2.5cm Christmas tree decoration, and about 30m distance to the scope should do it. So I set up the lamp + ball on a stand in a corner of our balcony:
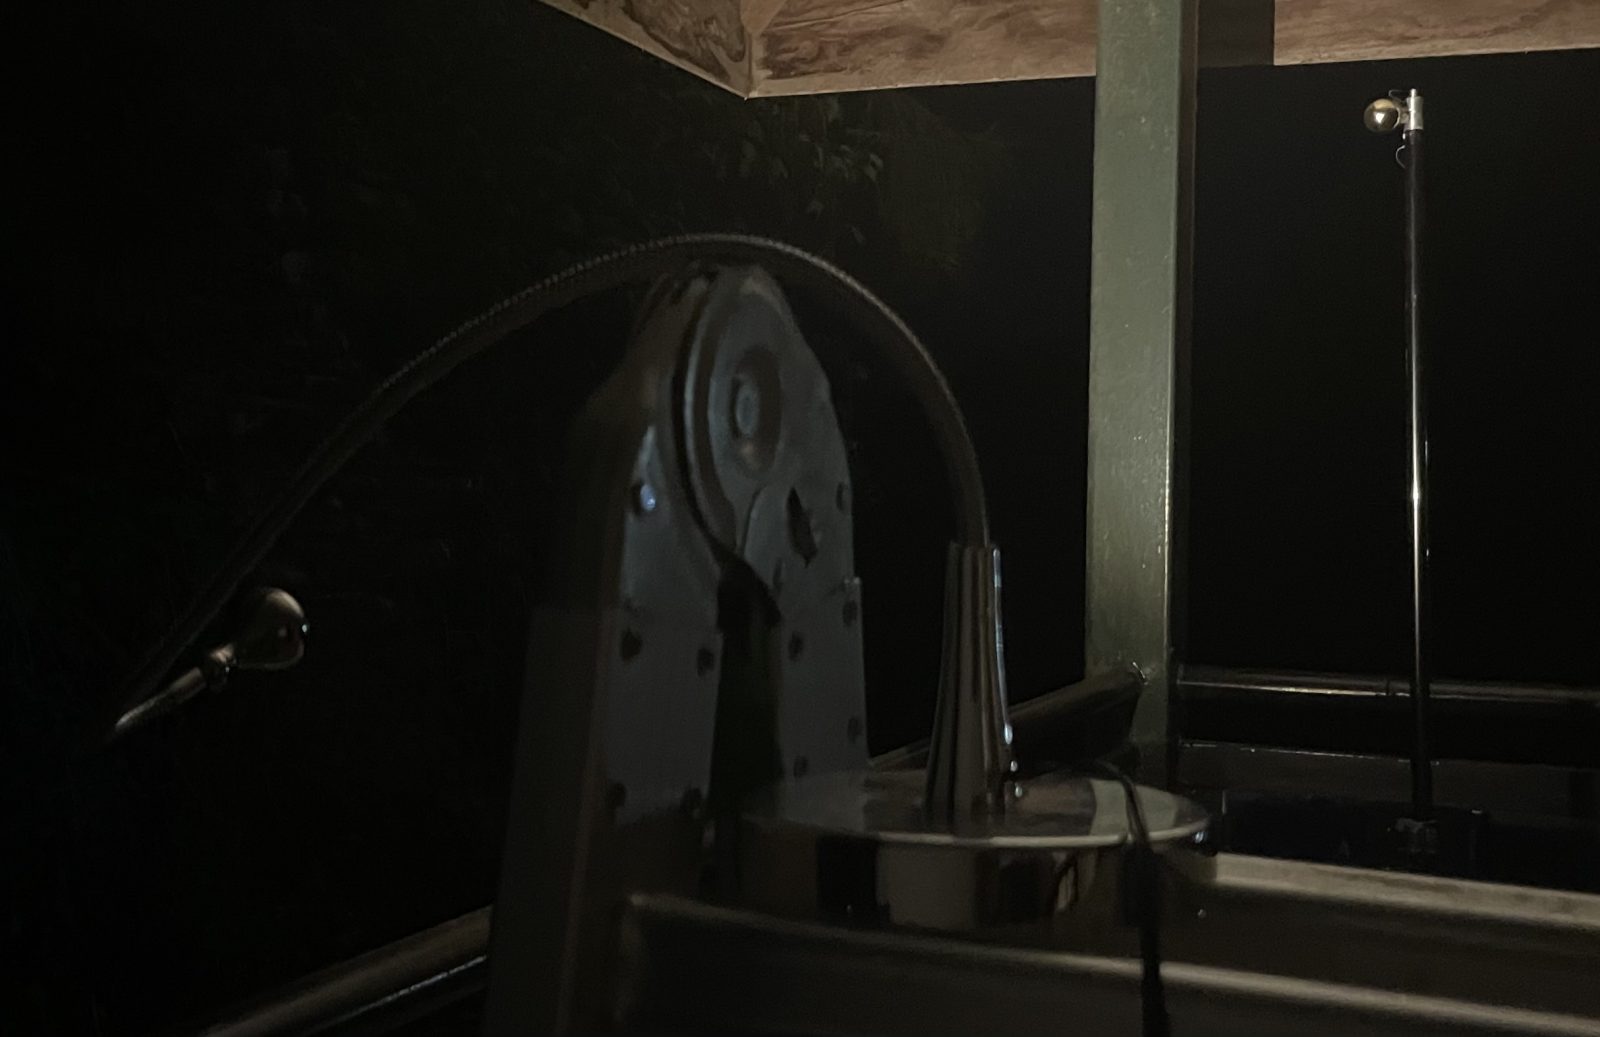
Then I put the scope about 30m distance away outside. This enabled for a much more comfortable testing, as I could now observe the star image at leisure.
It confirmed more or less the concentration of light in the outer ring in the defocused image, but also showed another issue at focus:
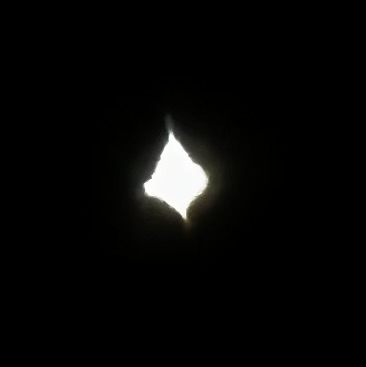
Theoretically, the star shape should be round, with in this case 2 diffraction spikes exactly opposite each other (because the secondary is mounted on a single strut, see images above). But it showed this diamond-ish shape. Trying to fine-tune collimation of the primary could make it more triangular, but I couldn’t get a very good shape. Such star shapes can point to a pinched mirror, where the mount of the mirror exerts too much pressure on it so that it deforms very slightly. To put things in perspective, we’re talking about deformations on the mirror surface in the order of nanometers here!
The mount of the Turkanascope holds the mirror with glue pads to a back plate. But the collimation screws seem to push directly against this plate. So I think that the screws cause stress in the plate and slightly deform it, which is then transferred to the mirror via the glue pads. Typical mirror mount designs therefore employ a decoupling between the screws and the actual mirror cell, or let the mirror “swim” loosely on non-glued pads, using loose clamps to keep it from falling off (which however cause additional diffraction spikes). In any case, this should be comparatively easy to fix.
Conclusion
After all this testing and the description of various issues, one might arrive at the conclusion that the scope is rather troubled in its current state. And in a way that’s true, especially comparing to commercial alternatives. But I’d also like to point out here again that we’re looking at a completely self-made instrument, including the primary mirror! And it is still very able to show many wonders of the sky despite its issues. Few people have ever built instruments themselves which are able to show detailed craters on the Moon:
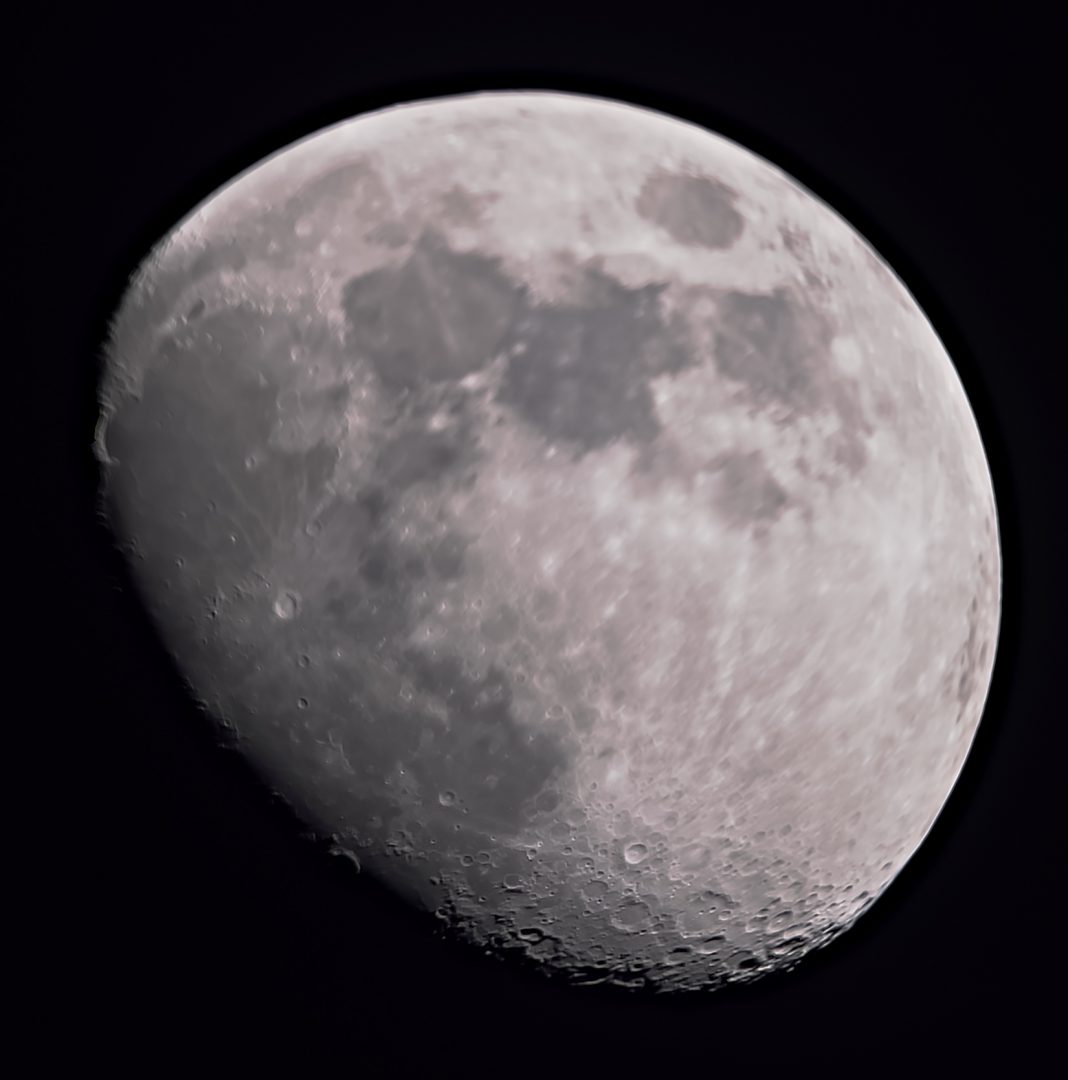
(Even if the whole Moon isn’t in focus at the same time — which might be caused by focuser tilt, which can be adjusted.)
Or Orion Nebula, with details and colours (taken with the AstroShader app):
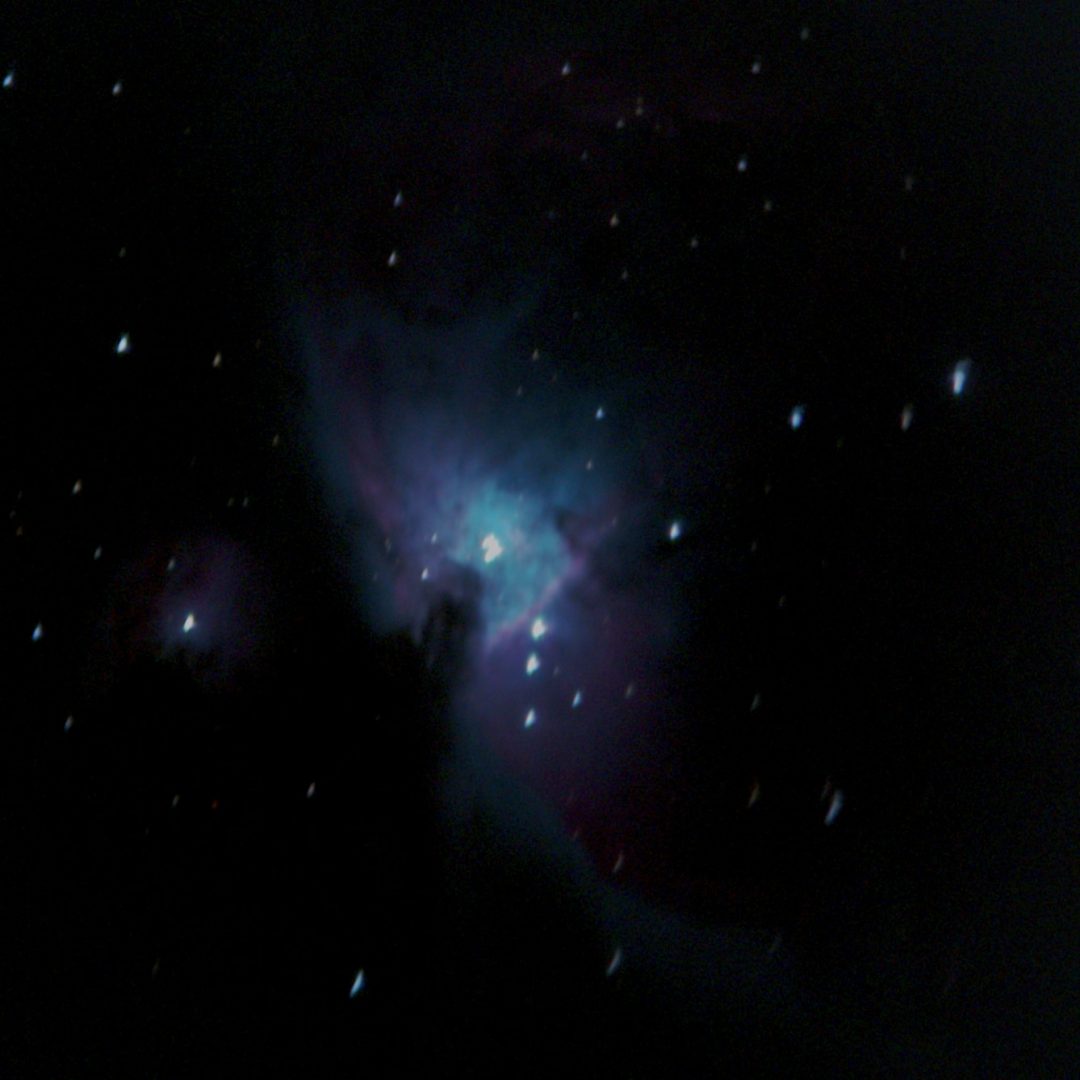
Therefore, all in all, an impressive, beautiful instrument, whose issues are all fixable with reasonable effort and cost.
Made in Turkana, Kenya.
Clear skies!
Update 1/5/2025: we’ve taken the Turkanascope out to the Kenya Space Weekend, and had some nice views with it, especially of the Omega Centauri globular cluster.
- You’re welcome to contact me directly at if you’re interested, I have some tips and references. I might also make a general post about it in the future. ↩︎
- If you’re interested to talk to him, let me know and I’ll connect you. ↩︎
Great review and kudos to Francis for a spectacular achievement! It’s very encouraging to know that we have young, ambitious and capable astronomers like this in the country.
Indeed!
Truly inspiring👏🏿 love to see such ingenuity and great to have the insights to understand what may be in the Turkanascope V2! Hoping for more collaborations on this from you and Francis please! 🔭
Yes, I’m definitely planning to, can’t await the next iteration!
Mind blown that this is even possible in Kenya. Kudos to Francis for blazing the trail of possibility. You provided quite an in-depth review which helps even a novice like me.
Many things are possibly in Kenya 😉
This is amazing work. It makes me want to explore the stars and the Galaxy. Thanks Bastian for the insights
We shall make that happen!
Truly astronomical!
Kudos Francis for the great leaps of faith you have taken literary, And of course thank you Bastian for the review and putting this important documentation out here.
It is a great thing.
Absolutely. Hopefully, this is but the first entry of many!
Wow. It’s refreshing to know such talent exists in Kenya. I love the part, ‘Made in Turkana , Kenya’
“Talent is equally distributed, but opportunity is not” — I very much believe in that quote, even though it’s unclear where it originated.
When it comes to telescope making, the situation is two-fold: on one hand, information about how to do it is readily available on the web to everyone (see some of the links in my post). On the other hand, specialised materials such as mirrors or mirror blanks, workshops and tools which are available affordable and/or for hire, are much more difficult and costly to obtain around here.
There also have been no astronomy clubs, let alone including other telescope makers from whom to learn in person, around here, as opposed to e.g. many Western countries (we want to change that with the recently-founded Space Society of Kenya, where both Francis and I are members, among many others).
So Francis took the plunge and learned and made almost everything by himself. So yes, it takes much more commitment and risk (both time and money-wise) for local talent to not only jump on opportunities, because they very rarely present themselves, but to actively create them.
beautiful review
Thank you Kev!
What an impressive achievement in local telescope craftsmanship! As a fellow Dobsonian enthusiast, I commend Francis for tackling mirror grinding and collimation challenges, key to Newtonian optics. The observed spherical aberration at f/6 aligns with principles in Suiter’s *Star Testing*, where parabolic mirrors minimize coma and distortion for sharper planetary views, especially under varying seeing conditions.
This innovation highlights Kenya’s potential in amateur astronomy, fostering accessible stargazing and inspiring global collaborations, much like the legacy of John Dobson’s designs. Clear skies and eager for V2 improvements!
Welcome here Patrick and thank you for the kind comments. Indeed, there is much potential!
I‘ve checked out your website, very good info on why Dobsonians are such great telescopes. I‘ve started with the Heritage 150p myself. One huge advantage of it, which I find curious to rarely be mentioned, is that when collapsed, the tube fits in a standard carry-on suitcase on flights. While the base can be easily disassembled into 2 pieces to fit into a full-size suitcase.
Wow.
What an inspiration. Thank you Bastian for noticing talent and supporting Francis.
Thank you Amon! I’m just back from a trip to Turkana, where I visited Francis and we went to the lake together for stargazing. Watch this space for an upcoming post on it!